


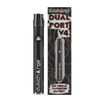


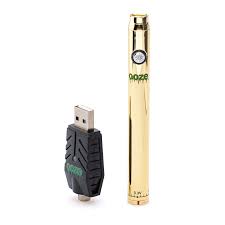
Ooze batteries are popular for their durability, reliability, and ease of use. One of their key features is variable voltage control, allowing users to adjust power levels for different vaping preferences. If you’re using an Ooze battery, here’s how to change the voltage settings.
Step 1: Turn On Your Ooze Battery
Press the power button five times quickly to turn on the battery. The LED light will indicate that the device is active.
Step 2: Adjust the Voltage
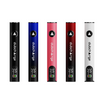
Ooze batteries typically have three voltage settings, represented by different LED colors:
-
Green (Low Voltage) – 3.3V (best for smooth hits and flavor preservation)
-
Blue (Medium Voltage) – 3.8V (balanced performance and vapor production)
-
Red (High Voltage) – 4.2V (stronger hits and increased vapor output)
To change the voltage, press the power button three times quickly. The LED light will cycle through the colors, indicating the new voltage level.
Step 3: Test and Fine-Tune
After selecting a voltage setting, take a small puff to test the vapor production. Adjust as needed based on your preference for smoother or stronger hits.
Step 4: Turn Off the Battery
To save battery life, turn off your Ooze battery by pressing the power button five times rapidly.
By mastering these voltage adjustments, you can customize your vaping experience and get the most out of your Ooze battery.
Now that you know how to use a 510 battery and adjust voltage settings on an Ooze battery, you’re ready to enjoy a more controlled and satisfying vaping session!

Leave a comment
This site is protected by hCaptcha and the hCaptcha Privacy Policy and Terms of Service apply.